

How to Prepare Your Garden for Spring

Ah, spring! The time of year when Mother Nature emerges from her winter slumber, and the world explodes with vibrant colours and the sweet scent of blooming flowers.
But before you can fully embrace the joy of spring gardening, it's time to roll up your sleeves and get your hands dirty (in the most delightful way, of course!).
You could think of it as a big spring cleaning party for your garden. Just like you wouldn't want to host a party in a cluttered house, your plants wouldn't appreciate being welcomed back into a neglected space.
With that said, let us not waste any time getting your garden ready for spring so that it can flourish this year!

1. The Big Clean-Up
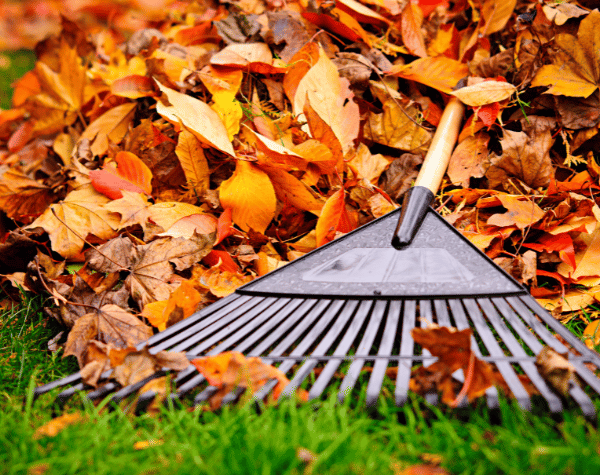
The first order of business is picking up fallen leaves, branches, and other seasonally appropriate debris. Getting rid of this buildup is important for the health of your garden because it can harbour pests and diseases.
Grab a rake and gather fallen leaves, twigs, and any other debris that has accumulated over winter. You can add these materials to your compost pile, where they will decompose and turn into nutrient-rich organic matter for your future plantings.
Naturally, you'd also want to prep your outdoor furniture for the upcoming season. Consider investing in weather-resistant chairs, tables, and loungers to enjoy your beautiful garden space worry-free, come rain or shine.

2. Assess Your Soil- Is It Workable?
Spring is a time for renewal in the garden, but if your soil hasn't bounced back from winter, it can damper your planting plans.
The harsh grip of winter can leave your soil hard, compacted, and devoid of nutrients. This makes it difficult for new roots to push through and hinders plant growth.
Here's how to assess the condition of your soil:
a. Grab your trowel and dig in! Make a small hole, about 6 inches deep, in a representative area of your garden bed. This depth is necessary because it's where the roots of many vegetables and flowers will reside.
b. Test the soil texture. Take a handful of soil from the hole and gently squeeze it in your hand. Pay attention to how it feels and behaves when you release your grip.
c. Your soil is in good condition if it crumbles easily between your fingers, with a pleasant, moist texture. This loose and airy structure allows for good plant drainage, air circulation, and root development.
However, if it feels hard and compacted, or if it remains in a tight clump when you release it, it's time to work the soil a little. Compacted soil can prevent water and oxygen from reaching plant roots, which will stunt their growth.
3. Nourish Your Soil
Now that you've assessed the condition of your soil, it's time to give it a healthy dose of organic matter. But why?
It's pretty simple. It will improve drainage, aeration, and nutrient availability, providing the perfect foundation for thriving plants.
Here are some excellent options for enriching your soil:
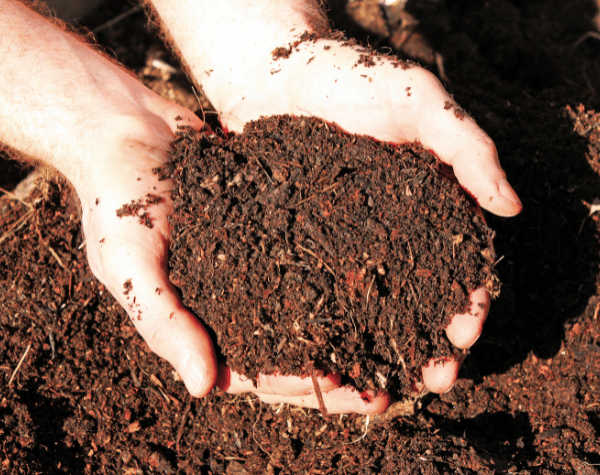
Compost
Compost is easy to find, and gardeners love material that is full of nutrients. You can make your own compost at home using food scraps, yard waste, and other organic materials, or purchase it from your local garden center.
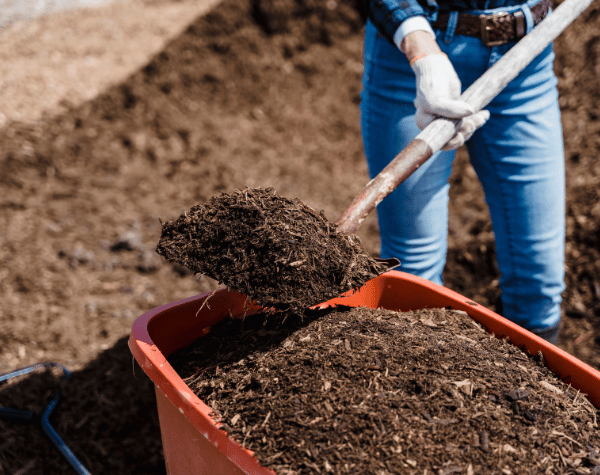
Manure
Aged manure is another excellent source of organic matter and nutrients. However, be sure to choose well-aged manure, as fresh manure can burn the roots of your plants. Always follow the specific instructions for using manure in your garden, as different types have varying nutrient content and application methods.
Cover crops
Planting cover crops like ryegrass or clover during the off-season is a fantastic way to improve soil health. These plants help suppress weeds, fix nitrogen in the soil, and add organic matter as they decompose. Simply sow the cover crop seeds in the fall, let them grow over winter, and then till them into the soil in early spring before planting your desired crops.
4. Prepare Your Garden Beds
Once your soil is prepped and nourished, it's time to define your planting areas. Whether you're using raised beds or planting directly in the ground, a little preparation goes a long way:
Raised Bed Bliss
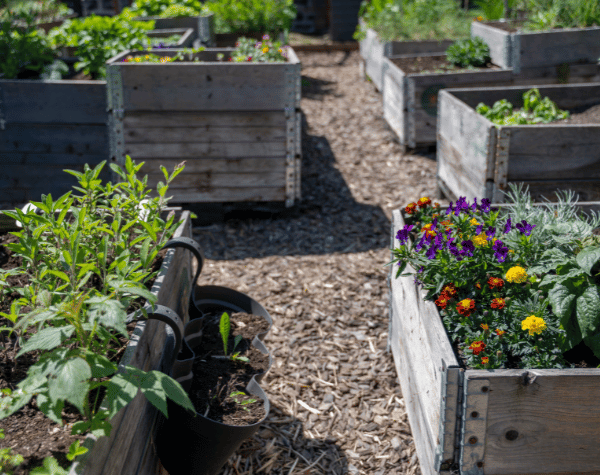
Weed Removal — Even the most vigilant gardener can find a few surprise weeds popping up over winter. Start by removing any unwanted guests that have taken root in your raised beds.
Top Up with Compost —Over time, the soil level in raised beds can settle. Top up your beds with fresh, nutrient-rich compost. Aim to fill the beds to about an inch below the top of the frame to allow space for settling and future watering without overflowing.
In-Ground Inspiration
Define Your Borders—Define the edges of your garden beds to Create a clean and organized look. You can use edging stones, bricks, or even simply dig a clean line with a shovel to establish a border.
Weed and Loosen — Remove any persistent weeds that have braved the winter and emerged early. Next, use a rake or hoe to loosen the top few inches of soil to improve drainage and aeration, making it easier for plant roots to establish themselves.
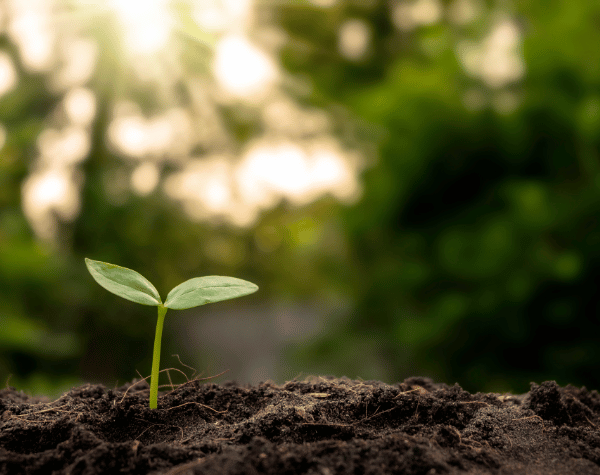
5. Plant Summer Delights
Now that you have prepared your garden beds and the soil is ready to be fertilized, you can begin planting. Depending on the plants you select and the weather where you live, early spring can be a great time to get a head start on your garden.
Let's break it down, shall we?
Sow Seeds
Plant seeds directly into your prepared garden beds for a variety of vegetables that thrive in cooler spring weather. Leafy greens like lettuce and spinach, along with root vegetables like carrots and beets, are all excellent choices for early spring sowing.
Always follow the planting instructions on the seed packets carefully. These instructions will provide specific details on seed spacing requirements and the optimal planting depth for each vegetable variety.
Summer Bulbs
Summer bulbs, like dahlias, lilies, and gladioli, will reward you with vibrant flowers later in the season. However, when choosing a planting location for your summer bulbs, prioritise areas that receive at least 6-8 hours of direct sunlight daily.

Furthermore, dig planting holes according to the specific size of your bulbs and always refer to the planting instructions provided on the packaging.
Transplant Seedlings
If you've been diligently starting seedlings indoors, early spring might be the perfect time to introduce them to their home in your garden beds. This process, known as hardening off, gradually acclimates your seedlings to outdoor conditions.
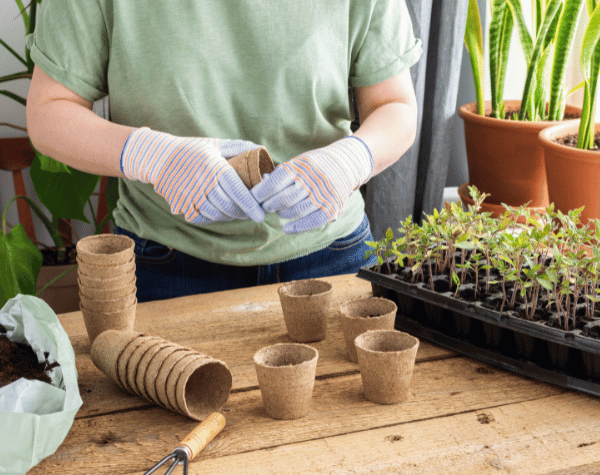
Gradually expose your seedlings to outdoor temperatures, light levels, and wind for a few days or weeks before transplanting them. It will help to prevent transplant shock, which can stunt their growth.
Conclusion
By following these steps and getting into the spring cleaning spirit, you can prepare your garden for a productive growing season that will be enjoyable for you and your family.
Sign up for our emails below, so we can send you blogs on gardening tips, as well as updates on our sales, so you don’t miss out on those garden furniture bargains!