
5 simple DIY garden hacks – milk bottle edition
There are at least five garden hacks associated with the common plastic milk bottle. We show you how to make a watering can, cloche, plant pot or cachepot, drip tray and plant labels. Each of these is easy, takes little effort and costs you nothing.
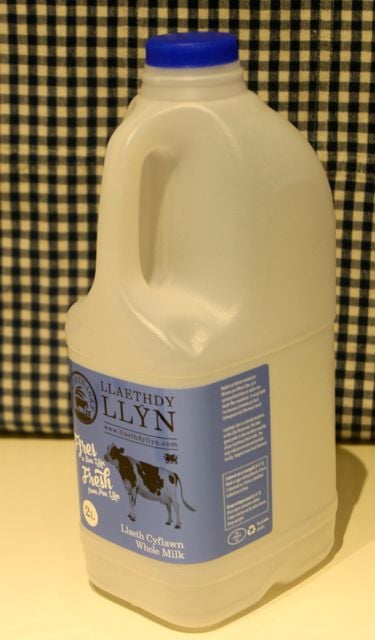
A two litre bottle is a good size but you may want to choose a different size to suit your own requirements. Before you start, wash it out thoroughly.
Milk bottle from the Llaethdy Llyn Dairy. M K Stone
1. Milk bottle as watering can
Watering cans that dribble are so annoying. Make one with a watertight fitting by using a plastic milk bottle. The cap will be your watering can rose.
Take off the cap and pierce it from the inside out - this will make the flow of water smoother. A needle heated in a candle flame will go through the plastic easily and give you a fine rose.
Fill with water, screw the lid back on tightly and try out your new watering can. The more water in the bottle, the greater the water pressure and the less likely that it will leak.
2. As cloche
Cloches act as little greenhouses. They protect young seedlings, tender crops such as cucumbers and peppers in spring and summer, and established plants from frost.
Plastic milk bottles have a handy line just below the handle of the bottle. Cut the top from the bottom of the bottle along this line, or lower down if you want a taller cloche. I usually slide a sharp knife into the bottle and slice round, or get started with a knife and then move on to scissors. And there you are – a usable cloche to protect your plants. Choose different sizes to fit your plants.
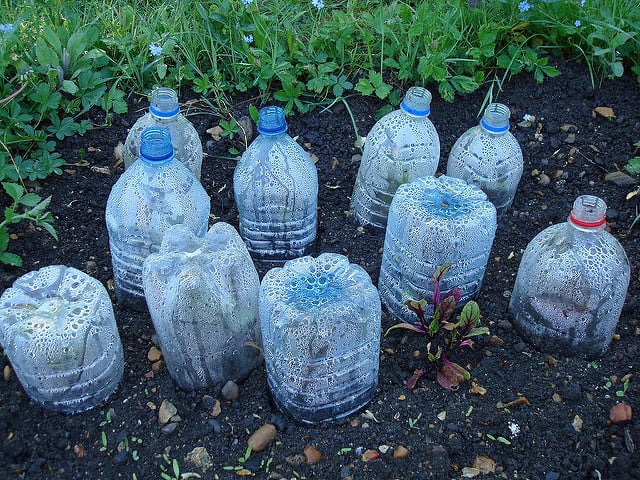
You can use plastic water bottles as well, of course! Cloches © Mandy Prowse. Reused under https://creativecommons.org/licenses/by-nd/2.0/
3. Milk bottle as plant pot or cachepot
You’ve cut the cloche part off below the handle of the milk bottle and it’s happily engaged in plant protection duty. You’re left with a container. What to do?
- Make drainage holes in the bottom of the container and use it as a plant pot.
- Wrap the container in a piece of material or an old scarf and use it as a cachepot. Cachepots are decorative indoor containers that hide boring old plant pots.
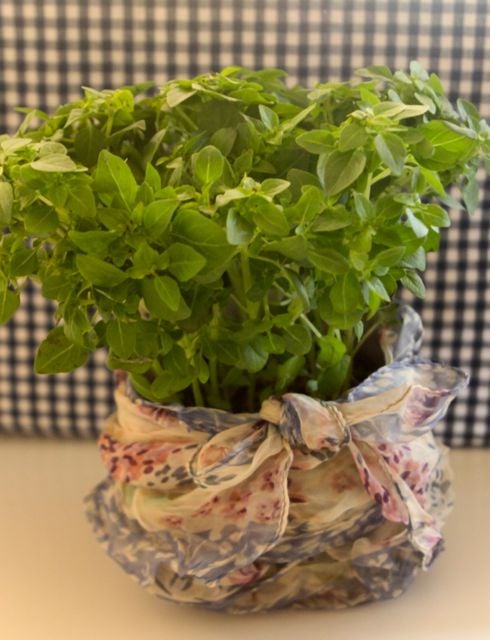
Greek basil in a milk bottle cachepot. M K Stone
4. As drip tray
If you don’t fancy making a plant pot or a cachepot, never fear! Cut off the very bottom of the bottle and you will have a handy drip tray. Or indeed a handy little tray for anything.
5. Milk bottle as plant labels
Take the ring of plastic that forms the body of the milk bottle and cut it into strips from top to bottom. These will probably be around 9cm/3.5in long and are ideal as plant labels for all your pots and trays of seeds and cuttings! Cut a point if you want, and write on them with an indelible pen.
Five or six garden uses for a readily available and empty plastic milk bottle! Or just recycle it.
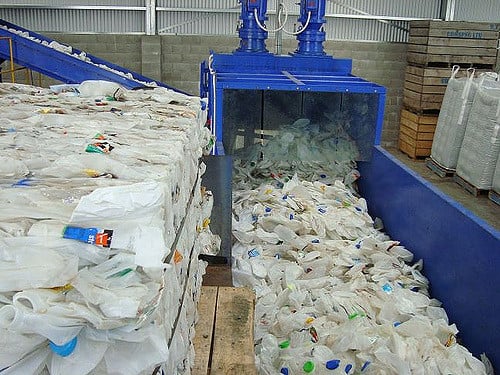
Remember you can recycle the bits and pieces! Plastic milk bottles ready for processing at Comspec, Christchurch, New Zealand. © Sustainable Initiatives Fund Trust and reused under https://creativecommons.org/licenses/by/2.0/
Sign up for our emails below, so we can send you blogs on gardening tips, as well as updates on our sales, so you don’t miss out on those garden furniture bargains!